We are continuing our series in getting the exterior of your home ready to paint. This is something we provide as a service as an Ann Arbor professional painting company, too.
Today we're going to go over step four in the painting process and that is priming. We can help with this if you're not comfortable doing it yourself!
Tomorrow, we will talk about downspout removal.
Applying Primer
Applying primer is the fourth step in our series on how to paint your own home. Now that you’ve done all of the preparation, you’re ready to start applying paint. If you’re not comfortable doing this yourself, we’re happy to help.
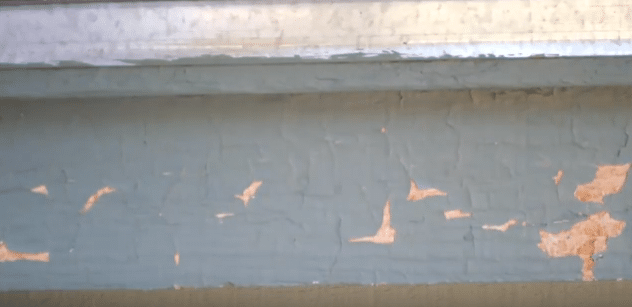
Of all the preparation you’re doing, priming is the most important. Primer acts as a base layer to the paint. It’s color neutral, so your paint will look the way you expected. Primer also helps smooth out the surface of the wood and gives the paint an even foundation. If you skip this step, your paint job can end up looking patchy and uneven.
Tools of The Trade
The most important part of this process is the primer. This isn’t something you want to cheap out on. You need to make sure that you selected an exterior grade primer, and oil based is the best choice for most applications.
Most of the primer can be applied with a roller and tray. You’ll want to use a full size one. You’ll probably have some high spots to reach. The easiest way to do so is with a roller pole, but a ladder may be suitable. All of the tight spots can be taken care of with a brush. As long as it’s clean, any older brush will work fine.
Step 1: Preparation
Before you go ahead and primer the whole house, you’ll want to make sure that the paint you bought will work. Take a little paint and put it on a small section of your home. Let it dry overnight. Once cured, use your fingernail to scratch the primer. Does it flake and peel off? If so, you’ll have to reevaluate your priming procedure. Paint that won’t stick requires the entire home to be coated with peel-stop primer. If it bonds, you’ll only need to primer the bare wood that was exposed during scaping.
If you’re working in tight spots, you’ll want to take the time to mask off anything that you don’t want to paint. Primer is very messy. Removing some unneeded masking tape is much easier than scraping off unintentional primer.
Step 2: Laying Down Primer
First, put a little primer on the roller. Use the tray to spread the paint around, keeping it evenly distributed. At first, lay down the primer by rolling only over a small area. After, work your way out to smooth out the primer. If you don’t spread it enough, you’ll be able to see the primer under the new paint. By feathering it, everything will look nice and smooth.
Work your way from the top of the house to the bottom. If you get any drips on the house, smooth them out with the roller. After you’ve covered the bulk of the house, you can go through with a brush and tackle those tight spaces.
Step 3: Cleanup
It’s important that you take the time to do the job correctly, but priming a house isn’t all that difficult. Once you’re done, you might be tempted to crack open a cold beer. Before you do, take the time to wash out your oil brush. Rise it and work the paint out until the water is clear. It’s a bit of work, but you’ll be able to re-use this brush later if you clean it properly now. Tomorrow, you’ll be ready to move onto step 5: Painting.
