Removing Downspouts From Your Home Before Painting
Thanks to https://www.youtube.com/watch?v=uUiSAyUfyF0 for providing this video.
Thanks for visiting us here at B & P Painting Company.
Today we're going to go over step five in the painting process, and that is removing the downspouts and dismantling other things around and on the house that would get in the way when you're getting ready to paint, which is very soon.
Next up is masking, which we will cover tomorrow.
Removing downspouts before painting your home is very important.
Removing obstacles
Removing obstacles is the third step in the painting process, and we’re still getting ready to paint. Prep work will make the painting process go smoothly, and will save you time in the long run.
Tools of The Trade
This is a quick and easy process, and you won’t need too much equipment. The most important thing to have is a screwdriver. You’ll probably need both a Phillips and a Flathead, but if you have a combination driver laying around you’ll have one less thing to carry.
You might need to do a little prying. For this, you can use the putty knife of the 5-in-1 tool you purchased during a previous step.
Time Saving Tip: Stay Organized
During this process you’ll be removing screws, brackets, and other small components that help mount things to your home. Grab a roll of thick painters tape. When you remove small components, wrap them up in tape and label them. Use a second strip of tape to bond them to the item you removed. This way, you won’t lose any crucial items!
Step 1: Remove Downspouts
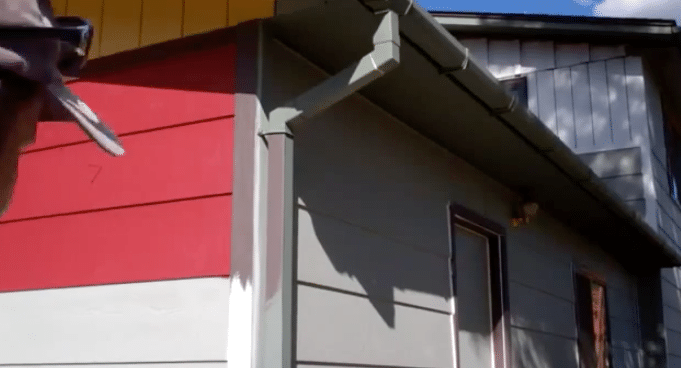 Downspouts carry water from your gutters into the drainage paths. Since they’re such a large obstacle, this is the most important thing you’ll want to remove from your house.
Downspouts are secured in two locations. Usually there is a couple of screws that attaches them to the gutters. As you move down the spout, you’ll find a number of brackets that secures them to the wall. Remove all the screws, store them somewhere secure. Stepping on a spout can permanently disfigure it, so you don’t’ want it in your work path.
Will you be painting the spouts? Modern spouts have a factory finish and don’t need to be painted. On older homes, you might find that the spouts have been painted before. If so, it might be worth giving them a coat before you put them back on.
Step 2: Remove Lighting
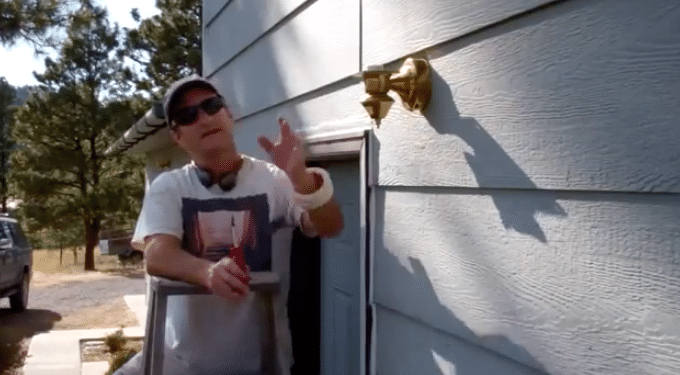 Removing exterior lighting fixtures is important, but posts a challenge. If you’re comfortable disconnecting the wires, you can fully remove them from the home. Make sure that you shut off the breaker so you aren’t working with life wires.
If you’re not comfortable working with electricity, you can simply wrap the fixture in paper and tape it. This will prevent it from getting painted, although you might have to move it during the painting process.
Step 3: Remove Other Fixtures and Obstacles
Finally, you’ll want to go around the house and remove anything else that is secured to the siding. Address numbers, thermometers, bird feeders, and décor should all be removed and stored.
Lastly, you should do a walk around and clear away any ground obstacles that will be in your way. Things like BBQs, plants, and lawn furniture are easy to move and reduce tripping hazards.
Now that you’ve completed the final step in preparation, you’re finally ready to start laying down paint!
